VSeed, an elegant data composer, transforming complexity into simplicity.
!!!###!!!title=Custom Render——VisActor/VTable tutorial documents!!!###!!!!!!###!!!description=In this tutorial, we will introduce how to use the custom capabilities of @visactor/vtable-gantt to draw a Gantt chart.!!!###!!!
Gantt Chart Custom Rendering Capabilities
In this tutorial, we will introduce how to use the custom capabilities of @visactor/vtable-gantt to draw a Gantt chart.
Preparation
Import custom graphic elements. Since the installed @visactor/vtable already includes the graphic element types of the VRender library, we can import them directly.
import { Group, Image, Text, Tag } from'@visactor/vtable/es/vrender';
or;
import * as VRender from'@visactor/vtable/es/vrender';
Custom Rendering of Left Task Information Table Cells
Since the left side is a complete ListTable, you can directly refer to the custom rendering tutorial in ListTable.
Custom Rendering of Date Header
The specific configuration corresponds to the field [timelineHeader.scales.customLayout](<../../option/Gantt#timelineHeader.scales(Array).customLayout>)
The function parameters are provided by the Gantt component and include the dimensions of the rendered task bar and date information. Specifically:
export type DateCustomLayoutArgumentType = {
  width: number;
  height: number;
  index: number;
  /** The current date belongs to the nth position of the date scale. For example, the fourth quarter in a quarterly date returns 4. */
  dateIndex: number;
  title: string;
  startDate: Date;
  endDate: Date;
  days: number;
  ganttInstance: Gantt;
};
returned value specification
The return value needs to include a VRender Group container object. This rootContainer should contain the specific content structure you want to display in the date header.
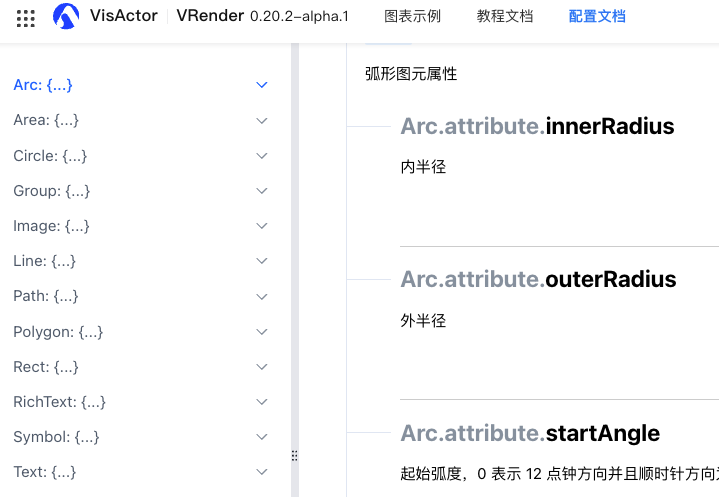
Each VRender graphic element can be understood as a DOM tree structure, where each element has a parent container that can contain multiple child elements. Common graphic element types and their configurations can be found in the VRender configuration documentation:
The function parameters are provided by the Gantt component and include the dimensions of the rendered task bar and task bar data information. Specifically:
The return value needs to include a VRender Group container object. This rootContainer should contain the specific content structure you want to display in the task bar.
Each VRender graphic element can be understood as a DOM tree structure, where each element has a parent container that can contain multiple child elements. Common graphic element types and their configurations can be found in the VRender configuration documentation:
VRender Element Type
Custom Graphic Element Event Listeners
VRender graphic elements support event listeners, as shown in the following code logic: